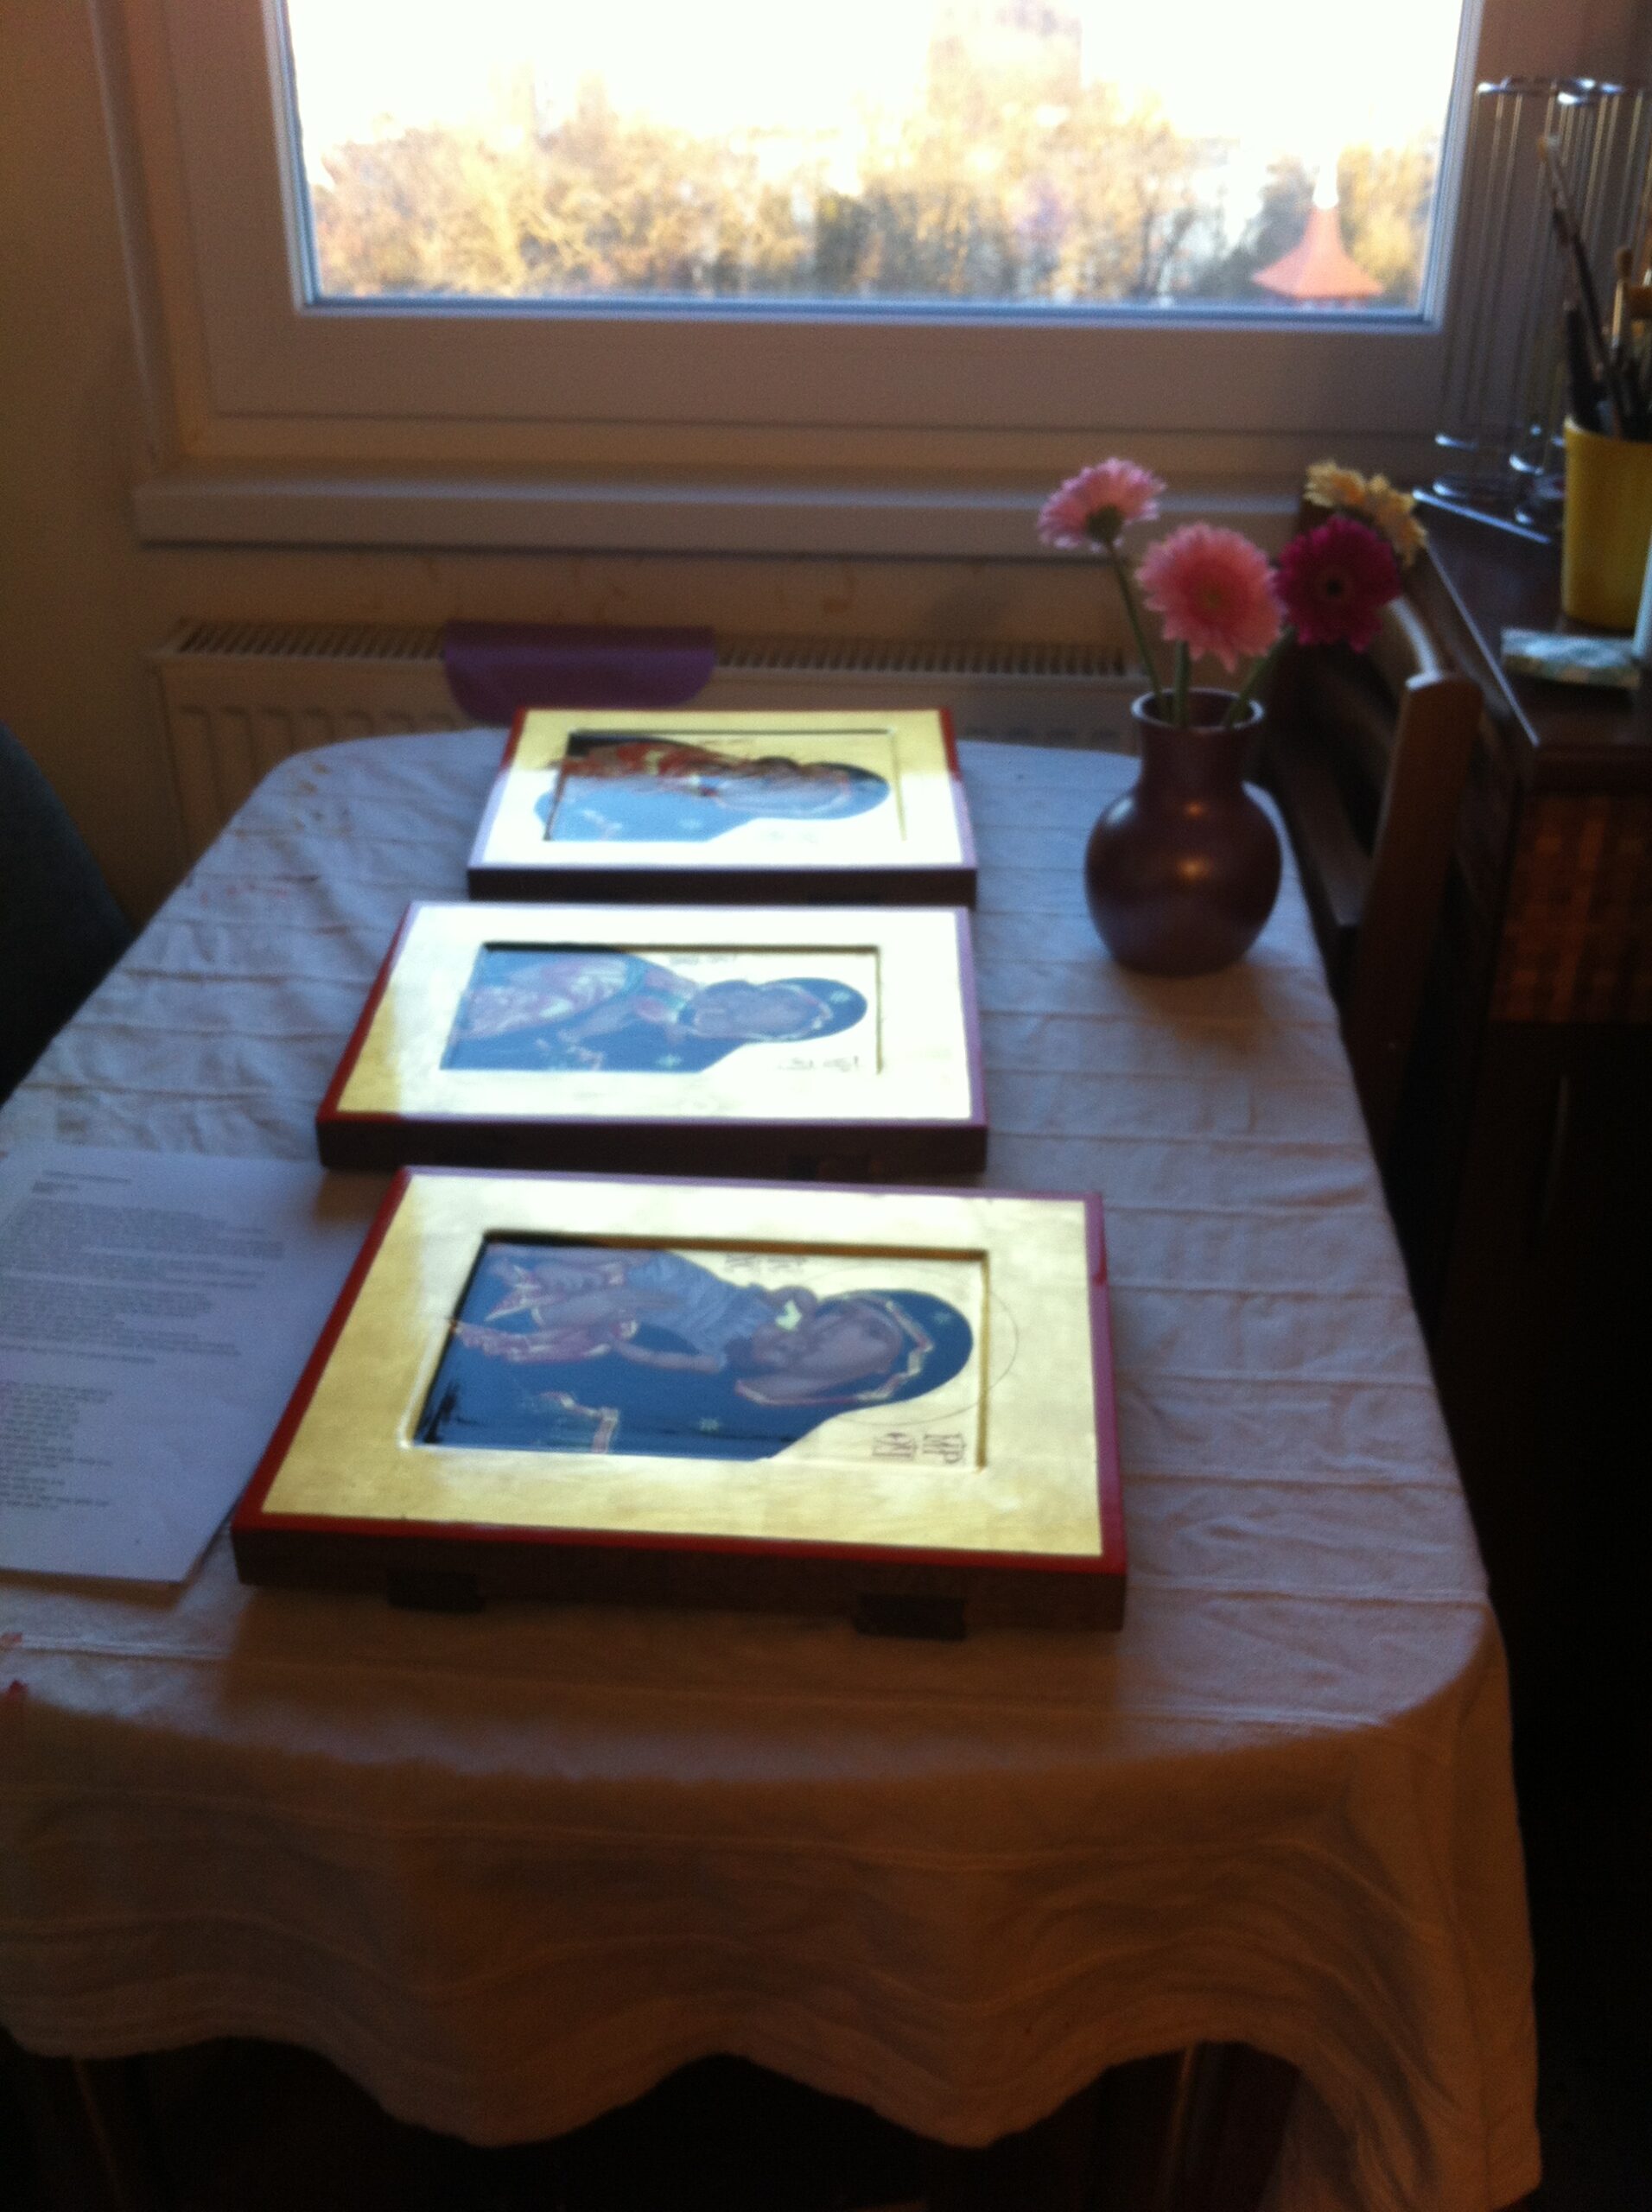
PREPARING THE WOOD
The process of writing the icon begins with preparing the wood panel, work that I currently outsource. However, I used to prepare the panel myself in the past and this is how it was done: having the wood cut and dried, I brought it to my workshop and started the actual preparation of the support for the painting as follows: I spread a “wood bath” of rabbit glue on the surface, then I stretched a #10 grade cheesecloth over it, and start the successive application of 7-9 layers of primer made from rabbit glue and mountain chalk (CaCO3). The primer application process takes time to dry. After the primer dried, I sanded it manually with abrasive paper of different granulations until the surface was almost as smooth as a porcelain.
The panel once prepared is ready for painting.
WRITING THE ICON
The first stage in the execution of an icon is the drawing, followed by the second one, through which with the help of a needle I “graph” the drawing with a thin scratch on the contours. The third stage in the execution of an icon is to apply the gold leaf where it is needed – all over the background or only to the halo. The fourth stage is that of “discovering the icon”, that is, of actually writing it. I do this in several successive stages using natural and synthetic pigments, and as a binder I use the emulsion obtained from egg yolk and dry white wine. In order to give the icon resistance to the humidity changes of the air and to the action of the microorganisms, I varnish the pictorial layer with special varnishes.
The life of the iconographer is half prayer, half work.
